I realised the other day why I’ve been reluctant to make shaker cards, when I like them so much. It’s because I don’t feel like there’s a lot of good filler materials available to us from Stampin’ Up! At the moment there are some neutral-coloured ones in the Annual Catalogue, but not quite what I’m looking for. So I sat down and ordered a rainbow of colours of seed beads:

As soon as they arrived I put my first concept to the test.

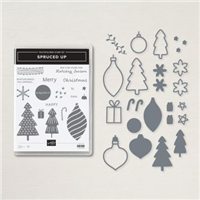
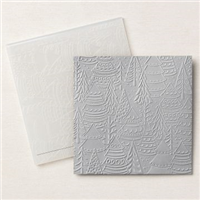
This uses the Spruced Up Bundle (July – December Mini Catalogue p. 13) and the Whimsical Woodland 3D Embossing Folder (p. 39) in a very simple layout that lets the shaker feature shine.

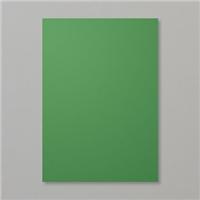
I cut the tree shapes 3 times: once in the Basic White layer before stamping and embossing, once in a Foam Adhesive Sheet to form the shaker compartments, and once in a Garden Green layer backed with Adhesive Sheet to inlay on top of the Window Sheet adhered to the back of the embossed layer.

I think these beads are going to be a lot of fun to play with.
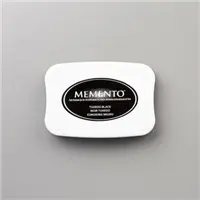
Here’s a list of the Stampin’ Up! supplies I used…they’re available in my Online Store.