I saw a version of this card in a Facebook card exchange group to which I belong, and decided to make my own version (it was a group of cards without an attribution to each one, so I can’t cite the original artist).

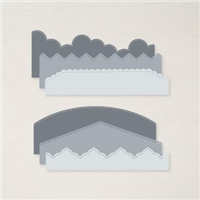
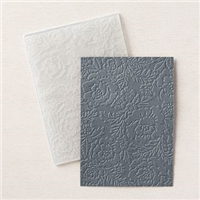
I’m really liking the one panel of texture from the embossing folder on the right side.

I also still like these Pierced Bloom flowers and leaves…they are just very striking no matter what colours I use.
Here’s the easiest way I’ve found to line up multiple overlapping panels on a card base:

They don’t have to be full-width…in fact, the embossed layer is the off-cut from the left panel!

I adhered the panels right-to-left, with the embossed panel aligned with the top, right and bottom edges of the card base.. Before I adhered the Basic White layer on the left I placed it where I wanted it and gently scored it with my fingernail to have a sense of where the edge would be. Then I removed it and stamped on my foam mat so that I’d have a good stamping surface. If I’d adhered it and then stamped you can see the edge of the Flirty Flamingo layer underneath would have made it uneven and I’d have a botched sentiment adhered onto my card.

I turned the card base over and used my paper trimmer to cut the Flirty Flamingo and Basic White layers flush.

Then all that was left was adding the flowers and leaves.
You can get everything you need to make this card in my Online Store.