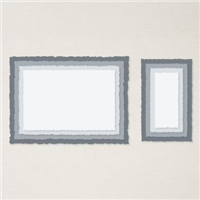
This is the card I made during this week’s Facebook Live video. You can watch it on replay on YouTube and Facebook. I go live on my Nancy’s Nifty Notes Facebook Page every Wednesday at 10:00 AET…you can check to see what time that is where you are on this website.
Pam Hill, a U.S. demonstrator, posted this card on a demo-only Facebook group with permission to use as desired.

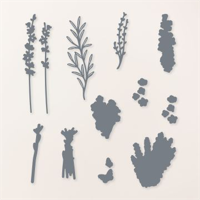
How great is the Flight & Airy Designer Series Paper from Sale-A-Bration?

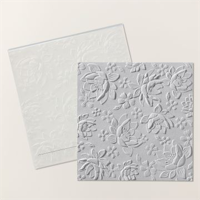
I really like the added interest that comes from embossing the Designer Series Paper.

Here are the measurements so you can make your own version. I’d love to see yours on the Nancy’s Nifty Notemakers Facebook Group…go ahead an upload a pic!
Card Base: 10¾” x 5½”, scored on long edge at 3¼” and 7½”.
Mark on long edge (top and bottom of card) at 1¾” from each end.
Mark on short edge (sides of card) at 2¼” from the top and bottom.
Align marks in Paper Trimmer and cut off corners.
Centre Strip: 4 ¼” x 1 ¾”
Designer Series Paper: 2 pieces 3″ x 5¼” (flaps), 1 piece 4″ x 1¾” (centre strip).
Mark on top and bottom of the 2 flap pieces at 1¾” and sides at 2¼” from the top and bottom.
Align marks in Paper Trimmer and cut off corners.
note – check orientation of pattern when cutting pieces and marking corners!
Here are the supplies I used to make this version – you can purchase everything in my Online Store.